The complete guide to make excellent recordings
(on cassette tape, of course)
Adjusting Bias: the key for the best quality
One of the keys to get an excellent quality in your recordings is to properly feed the exact amount of Bias to each particular tape. Bias is the way to get the highest output, the best high frequency response and the lowest distortion from whatever kind of tape you record on.
As you may know, there are three common categories of tapes (I, II and IV) and a lot of different models in each one. Everyone has its own characteristics, and none of them is equal to the others. While many of them can be quite good, you won't get the best result unless you find the proper adjustment for your particular deck.
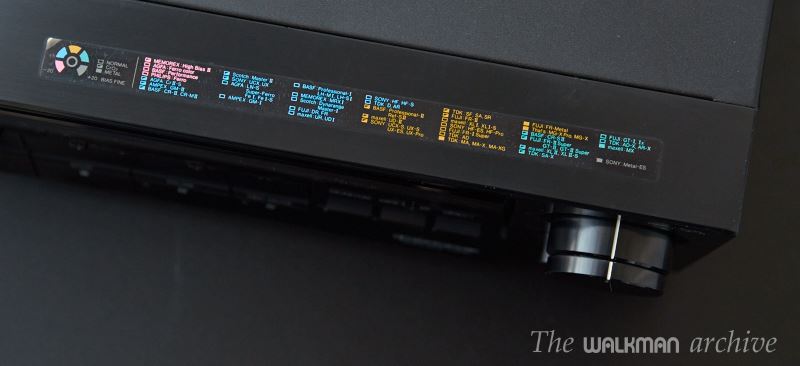
The three type of tapes (from left to right): normal, chrome and metal.
Tapes of types I, II and IV.
While recording, the magnetic tape swipes over a head that applies a magnetic field that makes the microscopic particles to react and aligning their poles in a particular way. The higher the frequency, the more magnetic field is needed. High frequencies (HF) are harder to manage and the particles usually don't get the appropriate magnetic print, so some HF is lost, and some distortion appears.
Bias is something designed to help in that. It's a high frequency current signal (usually five tp seven times the highest audible frequency) that helps doing the magnetic print (especially the higher frequencies) much easier to manage. So, applying bias to the music itself helps in getting the correct HF but doesn't affect the sound itself. Reason why all decks have an internal bias.
But not all tapes need the same bias: there are tapes that only need a small bias current (typically type I tapes), others that need much more (usually chrome tapes) and others that really need a lot (metal tapes). Getting the exact amount of bias is important to get the best sound from a particular tape and deck, but this is something that can only be done experimentally.
Boomboxes, basic and many mid-level decks have a fixed bias. Well, they usually have three different biases: one for each type of tape. When you select the type of tape, you're actually adjusting the bias for recording and the equalization (EQ) curve for playing.
But there are a lot of different tapes of every kind, and everyone needs its particular bias and EQ curve, that is often called 'tape calibration'. That's why a bias knob is a must-have in every deck that aims serious recording.
Bias is something that has to be adjusted while recording in real time, so a 3-head deck is a must. Only with these decks you can listen what's actually being recorded and what's the actual effect of the bias in that particular tape. Anyway, there are a few 2-head decks that provide bias adjustment, but you have to be confident and trust the table that they provide for different kind of tapes. Or eventually you need to experiment with some try-and-error recordings by rewinding and playing what you’ve just recorded, until you find the best bias setting for that particular tape. This is because you cannot listen to what you record on tape on a 2-heads deck during the recording, so you need to rewind and listen in a second moment.
Some AIWA decks come with a sticker in the top to help you choosing the right bias for every tape.
Most decks from the '90s feature an assisted calibration system with internal signal generators so they help you in searching the proper calibration. But many others just provide you with the required knobs but you have to do it yourself. Most modern ones even do the entire calibration automatically: just insert the tape, press a button and wait for some seconds until it finishes.
If you want to do it manually (in a 3-head deck), you must follow these steps:
Prepare the deck for recording with the tape you're about to use. Switch monitor to 'source'.
Search for a song that has a good representation of bass, mids and treble. Play it with your source (the CD player, turntable, computer...). I suggest you a song with so much treble, like Stages from ZZ Top.
Start recording. Switch between 'source' and 'tape' and concentrate on differences in the highs.
Turn the bias clockwise and counterclockwise until you find a position where the source and the tape are most close. That's the proper bias for that particular tape. Take note of that setting to use that same one in future recordings with that tape.
Note that with some tapes a good bias may not be found, because the lack of good matching between the deck and that particular tape. Sometimes there are quite audible differences in the frequency response (lack of flat response); sometimes there is a great amount of distortion. In that case, it's best to avoid that tape and try with another one.
A better method to set bias is to use either pink or white noise rather than music. White noise is the noise you can hear between FM radio stations. That noise contains the same amount of every frequency in the audible spectrum, so it's one of the best sources for bias calibration. If you have a good radio (and I mean a HI-FI radio module, not a boombox or a walkman), you have to feed that noise into the deck, like when you want to record from the radio.
You can also use Vince's calibration CD (you can download from there too). Just play track 12, which is pink noise at -21dB.
Then you must follow the same process described above, but with the pink noise instead of using the FM radio. This will give you a more controlled result.
Of course, if your deck features an assisted calibration system (with internal generators and meters) you are lucky because they will help you doing it indeed. However, the quality of the calibration depends a lot of the quality of the system and the tape chosen. Modern systems (like mid-90s high level decks) usually work well, but with some particular good tapes (like high bias TDK SA-X or Maxell XL-IIs) they can be not as good as a manual calibration. It depends on what deck you have. Some tend to fail and others do it very good.
With these systems you have to follow a procedure like this:
Enter the calibration mode.
Insert the desired tape. If it's in the beginning/end, wind it a bit (two minutes or so) to avoid the first meters of tape as they usually have less quality. Choose the tape type (I, II, III or IV) and whether you want dolby or not.
Start recording. Monitor the tape while recording.
Enter calibration mode. Usually you will see two meters that corresponds to a low frequency (LF) tone (usually 315 or 400 Hz) and a high frequency one (usually 12 or 15 kHz). The latter serves to measure the sensitivity level and the former, the high frequency response. If your deck has a two-stage calibration, enter the first one, which usually corresponds to the LF tone and start rotating the 'Rec sensitivity' knob to adjust the LF until it achieves de target (usually a colored mark).
If your deck has a two-stage calibration system, press the corresponding button to go to the 2nd stage: the HF tone. If your deck has both tones combined, just go on and start adjusting the 'Bias' knob until the HF tone reaches the target.
Exit the calibration mode and… that's it, you're done!
Video: calibrating a tape with K909
Now your deck is ready to record. It's very recommendable that you do a test record of a part of a song to know how to (briefly) adjust the main rec level for that disc and to hear by yourself if that calibration works well or not. Sometimes the calibration process doesn't work well and you will only notice it with a real song. You may focus on the high frequencies to check that they don't sound harsh or clearly distorted, which is one of the first consequences of a bad calibration.